
If you spend any time working with Office 365 and the Online services (Exchange Online, SharePoint Online, Lync Online, Azure Active Directory), then you surely have had a need to manage your Office 365 tenant with PowerShell. In this post, we combine the steps of installing all of the components to manage Office 365 Online services with PowerShell…and the best part is that we do it all from one master PowerShell console! — so let’s get started
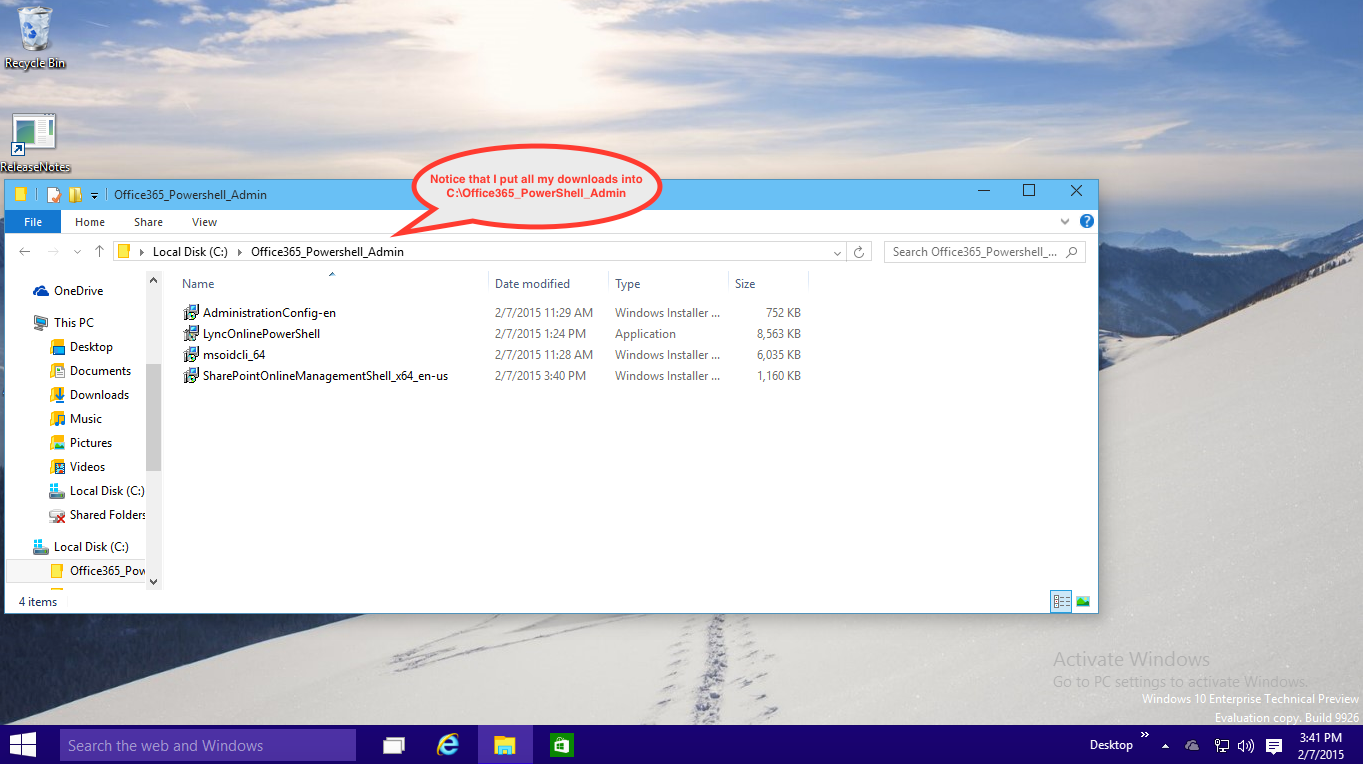
*Note – I’ve created a folder called C:\Office365_Powershell_Admin where all of my downloads will go into.
Credit for this setup was gleaned from the following sources:
Let’s start off by grabbing all of the modules we are going to need (there are going to be a few).
First download required:
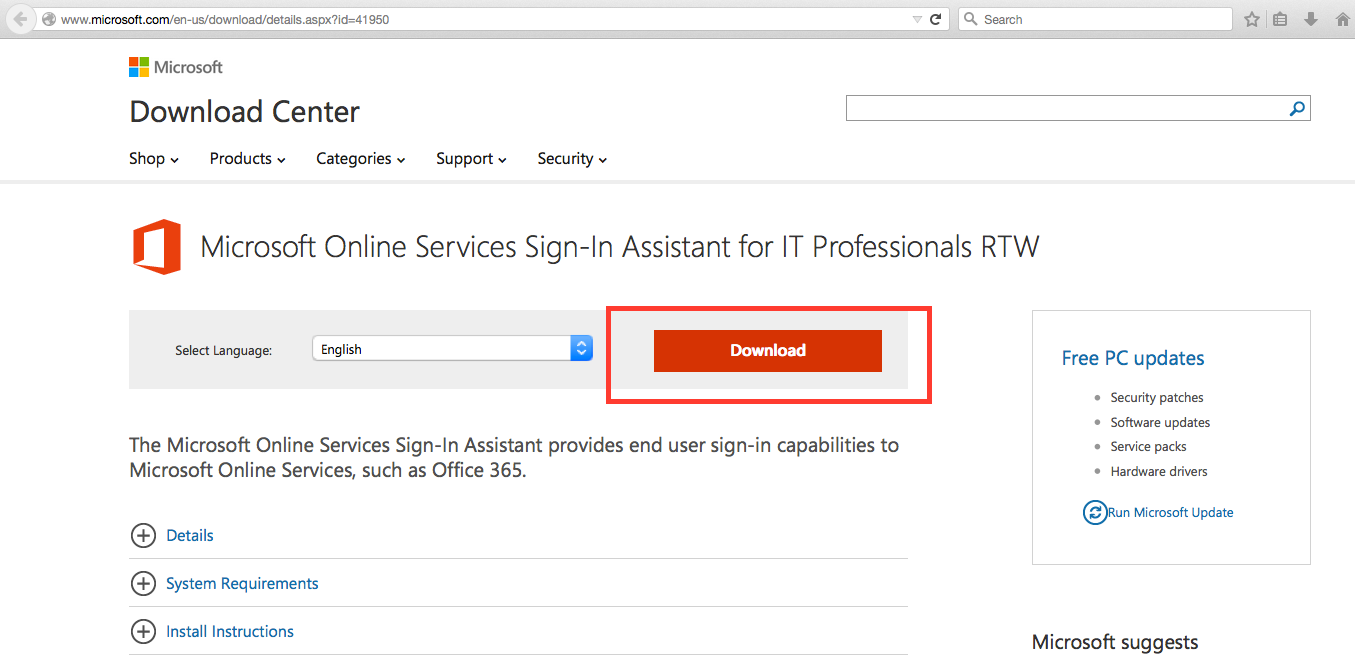
– 64-bit version of the Microsoft Online Services Sign-In Assistant for IT Professionals RTW
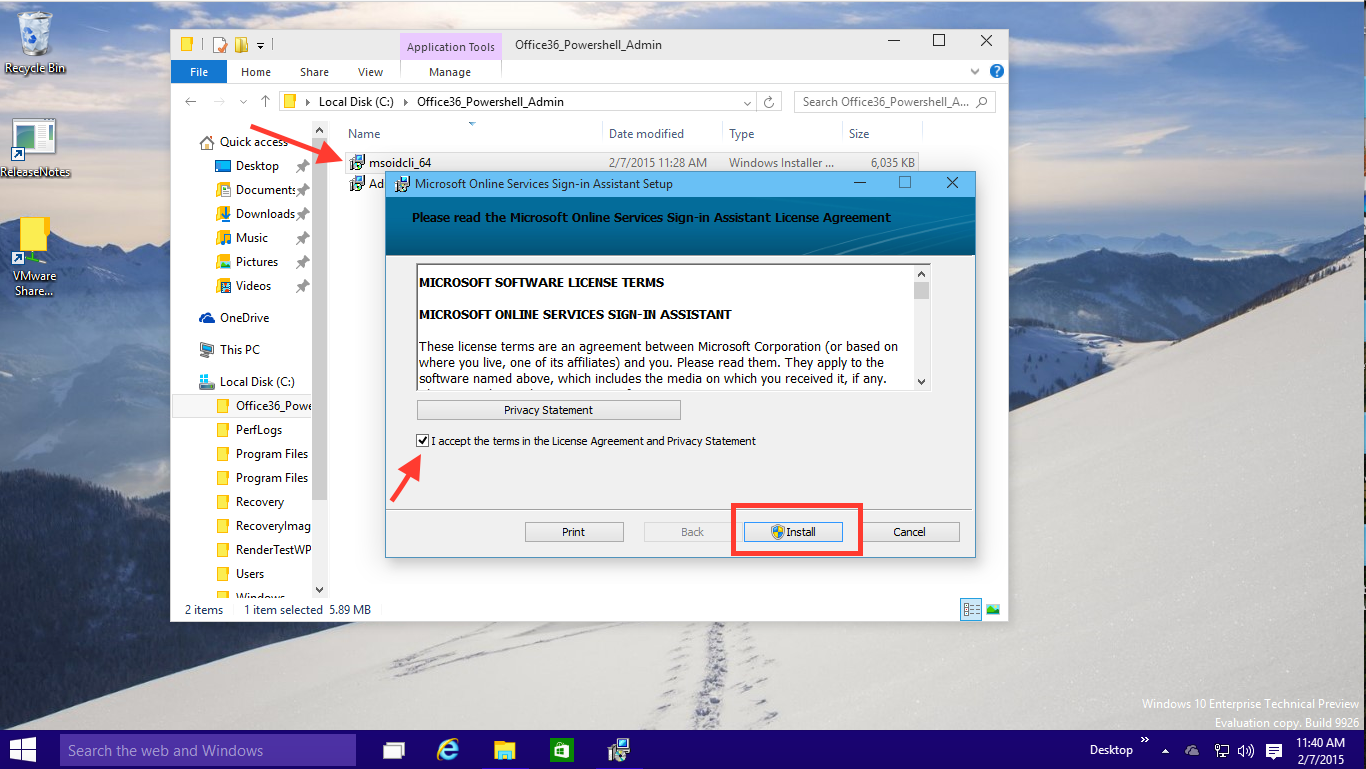
First, we need to download and install the Microsoft Online Services Assistant. We are going to actually grab the Microsoft Online Services Sign-In Assistant for IT Professional RTW. Click on the ‘Download’ button and save
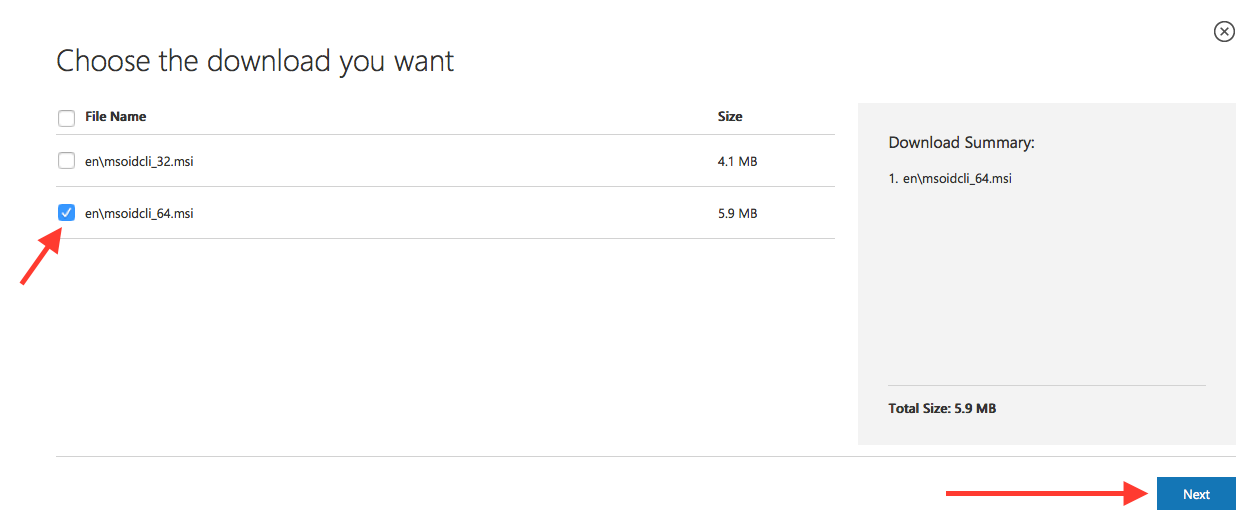
We then are going to select the 64-bit version of the Sign-In Assistant (en\msoidcli_64.msi) and then click on ‘Next’. As stated at the beginning, I’m saving the download(s) into C:\Office365_Powershell_Admin on my virtual machine.
Second download required:
– 64-bit version of the Microsoft Azure Active Directory Module for Powershell
The next thing we need to do is to download the Microsoft Azure Active Directory Module for Powershell (64-bit version). Navigate on over to http://go.microsoft.com/fwlink/p/?linkid=236297 in your browser and save the module in your download folder.
![]()
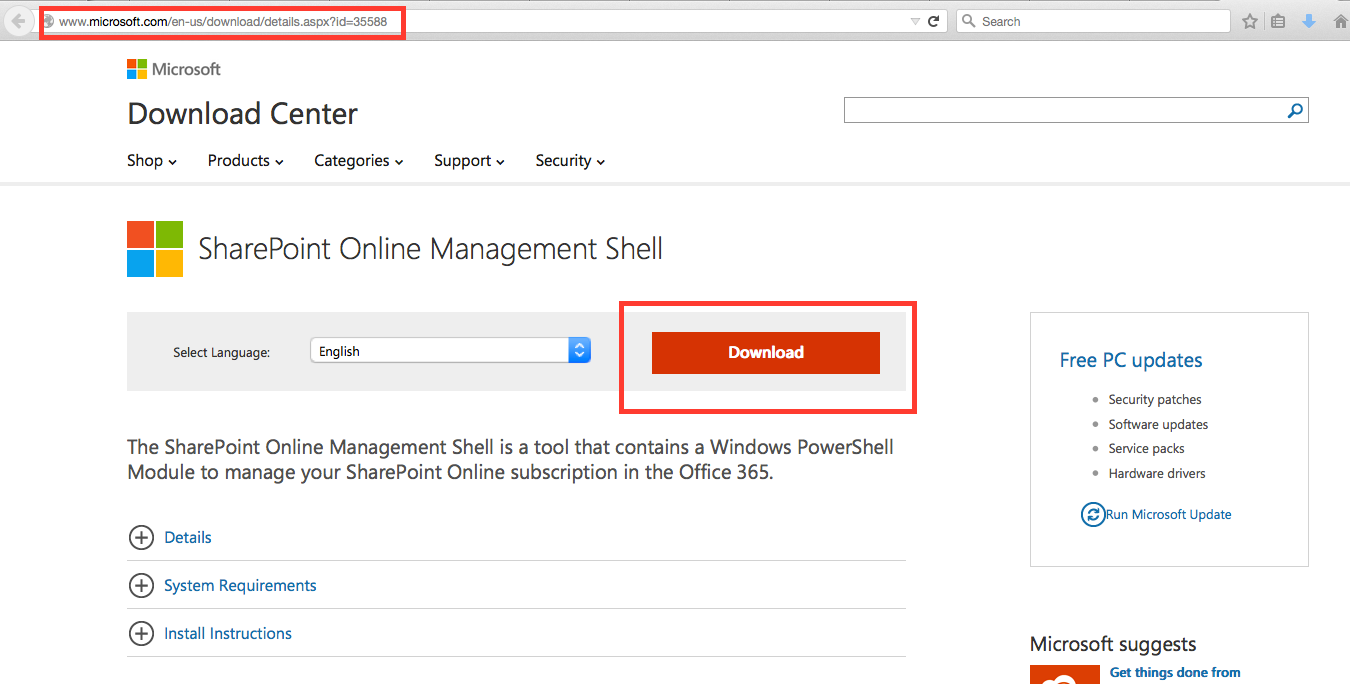
Third download required:
– 64-bit version of the SharePoint Online Management Shell
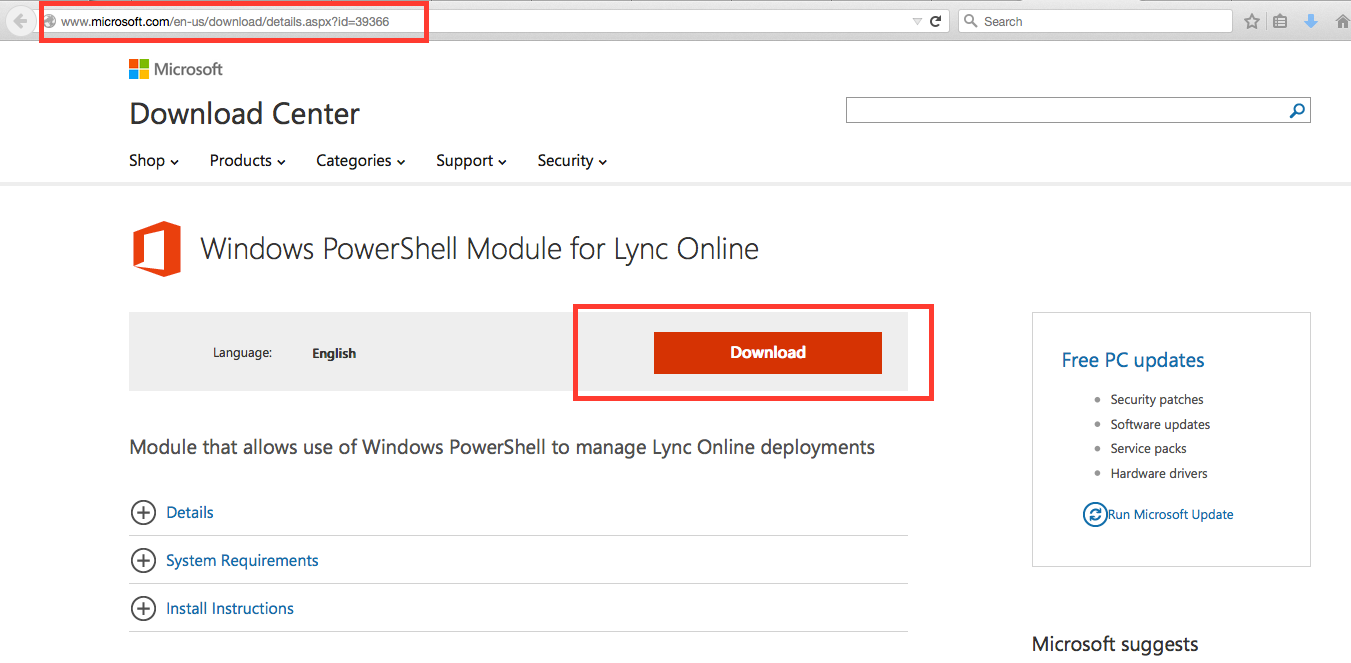
Fourth download required:
– 64-bit version of the Windows PowerShell Module for Lync Online
OK! – Now we should have everything that we need downloaded into our download folder we created earlier.
Now that we have everything downloaded that we are going to need, lets go ahead and start installing the necessary components…
Step 1:
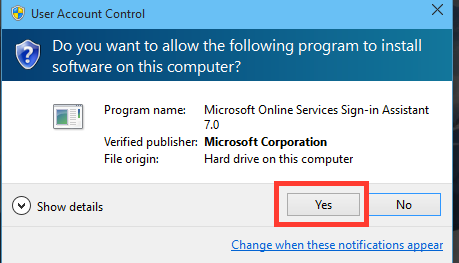
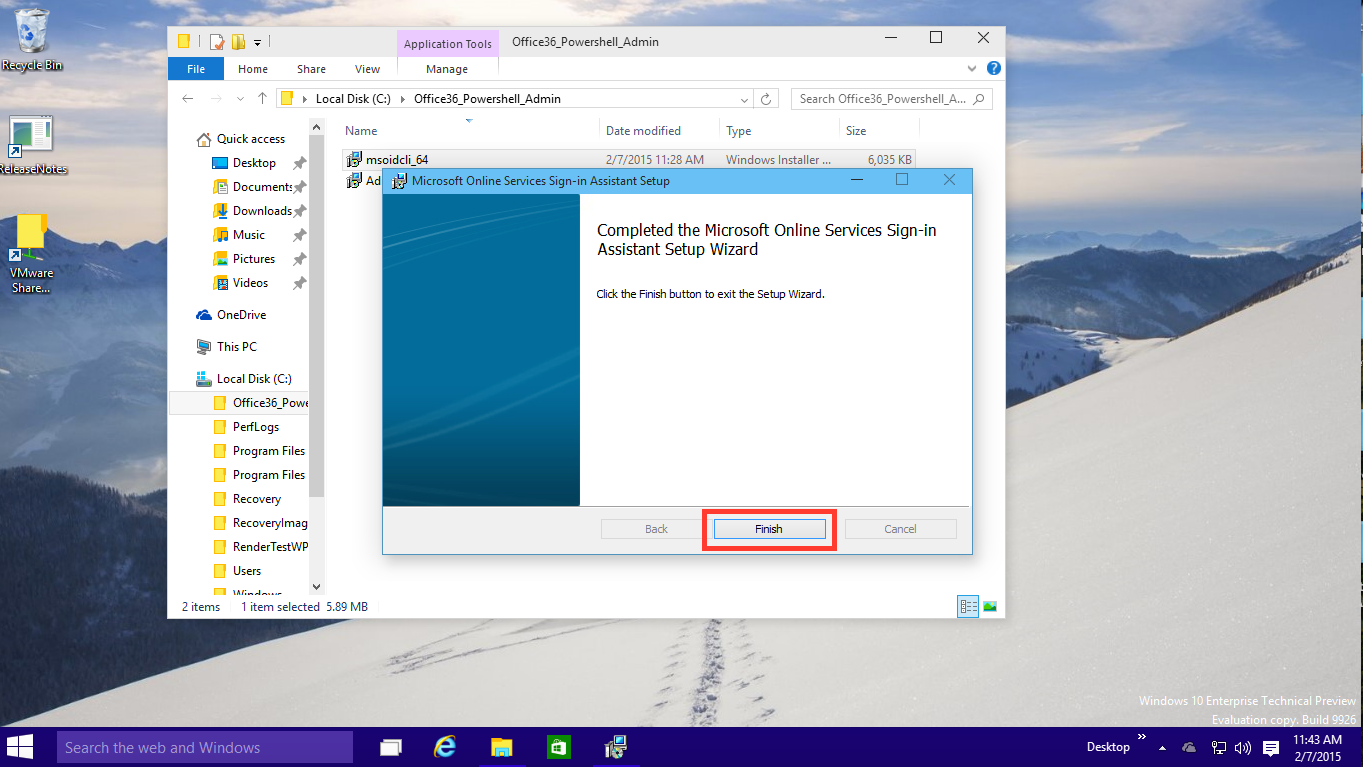
– Install the Microsoft Online Services Sign-In Assistant for IT Professional RTW
Step 2:
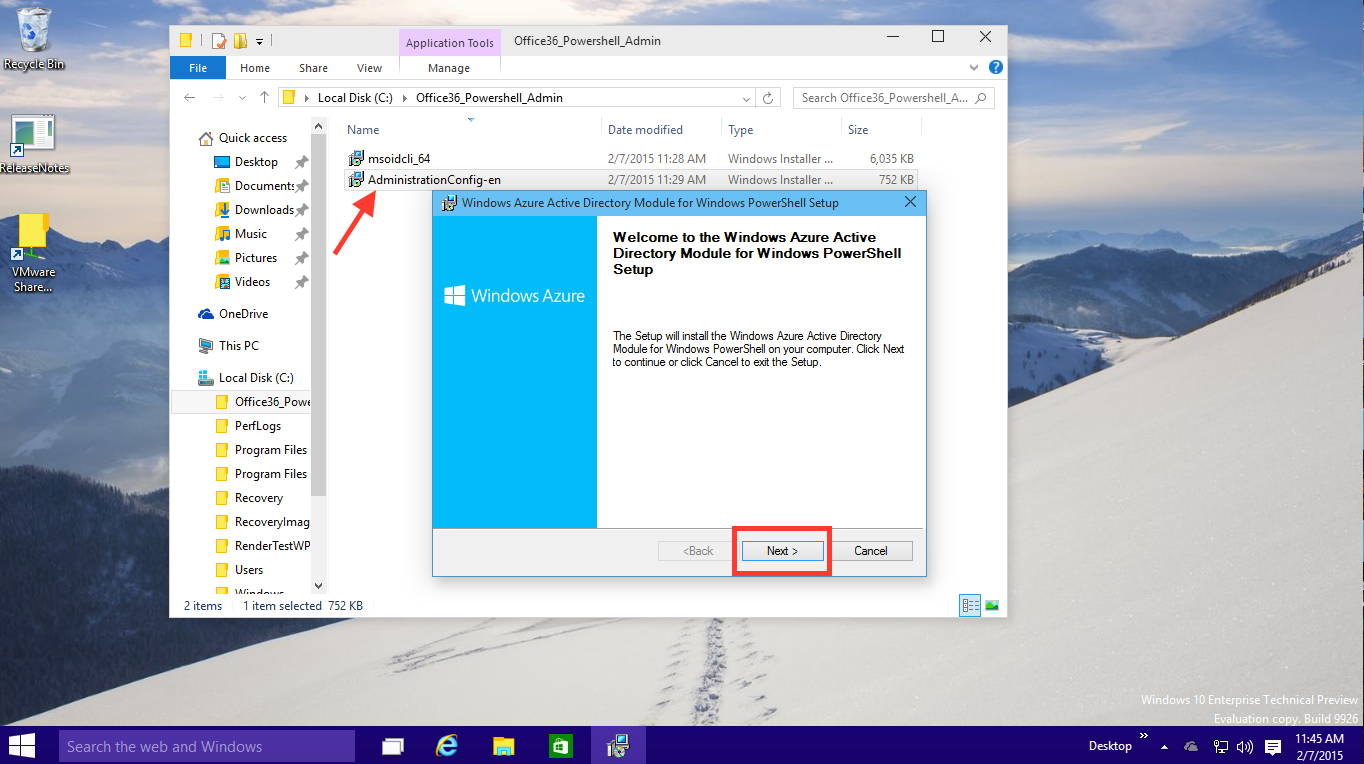
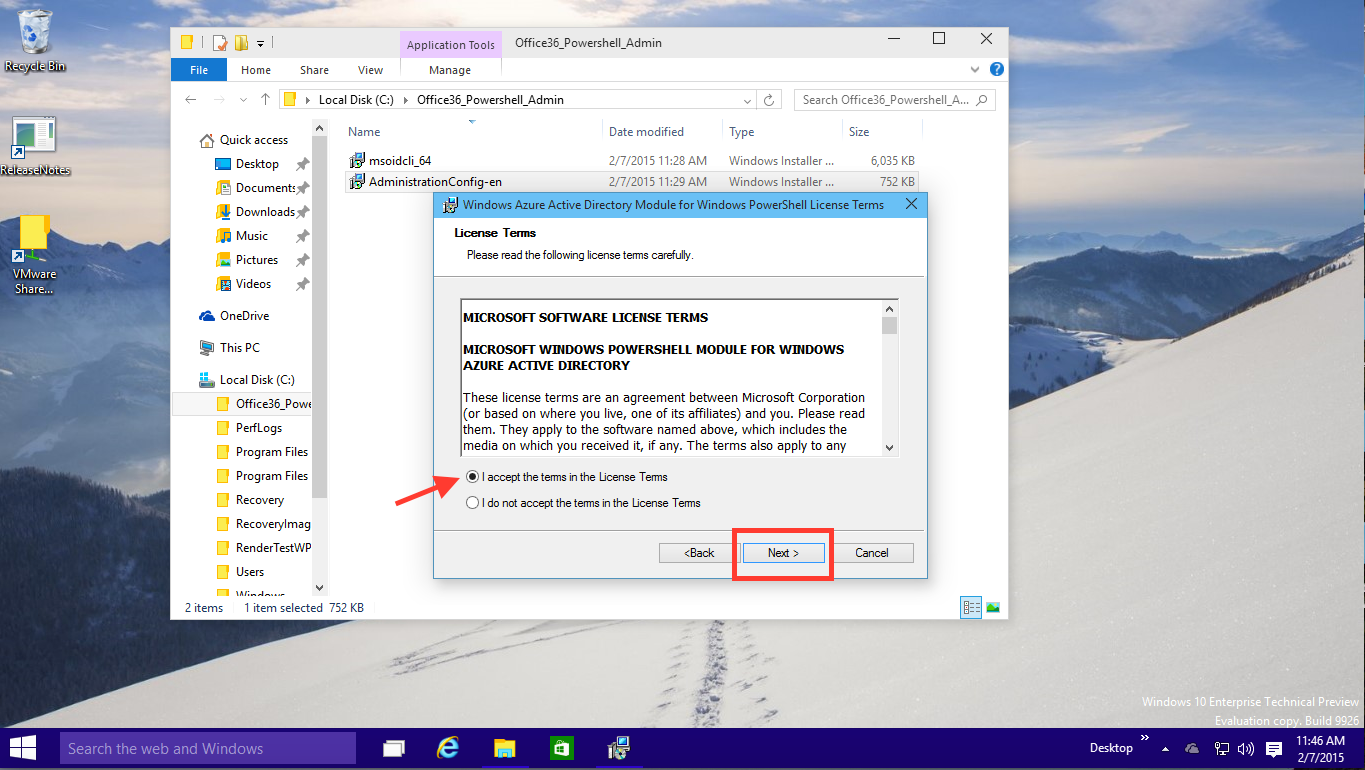
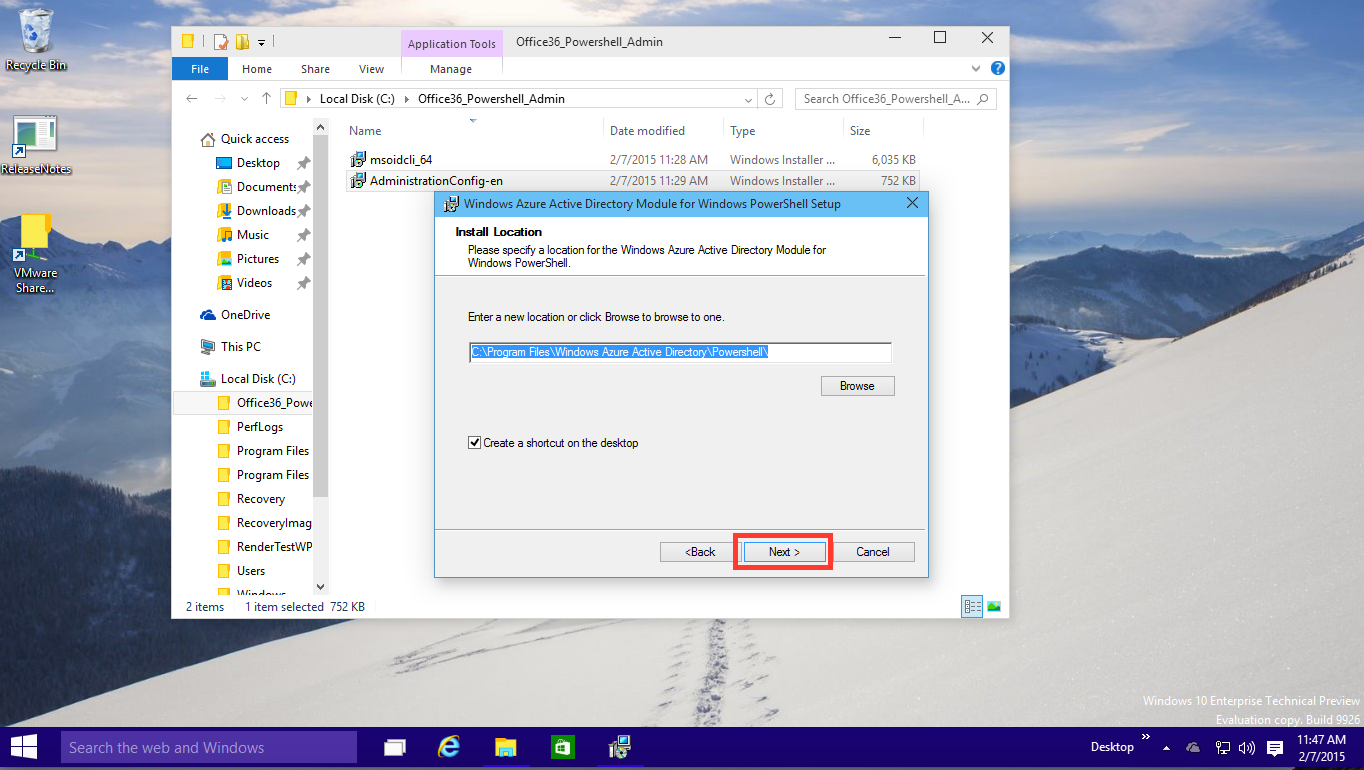
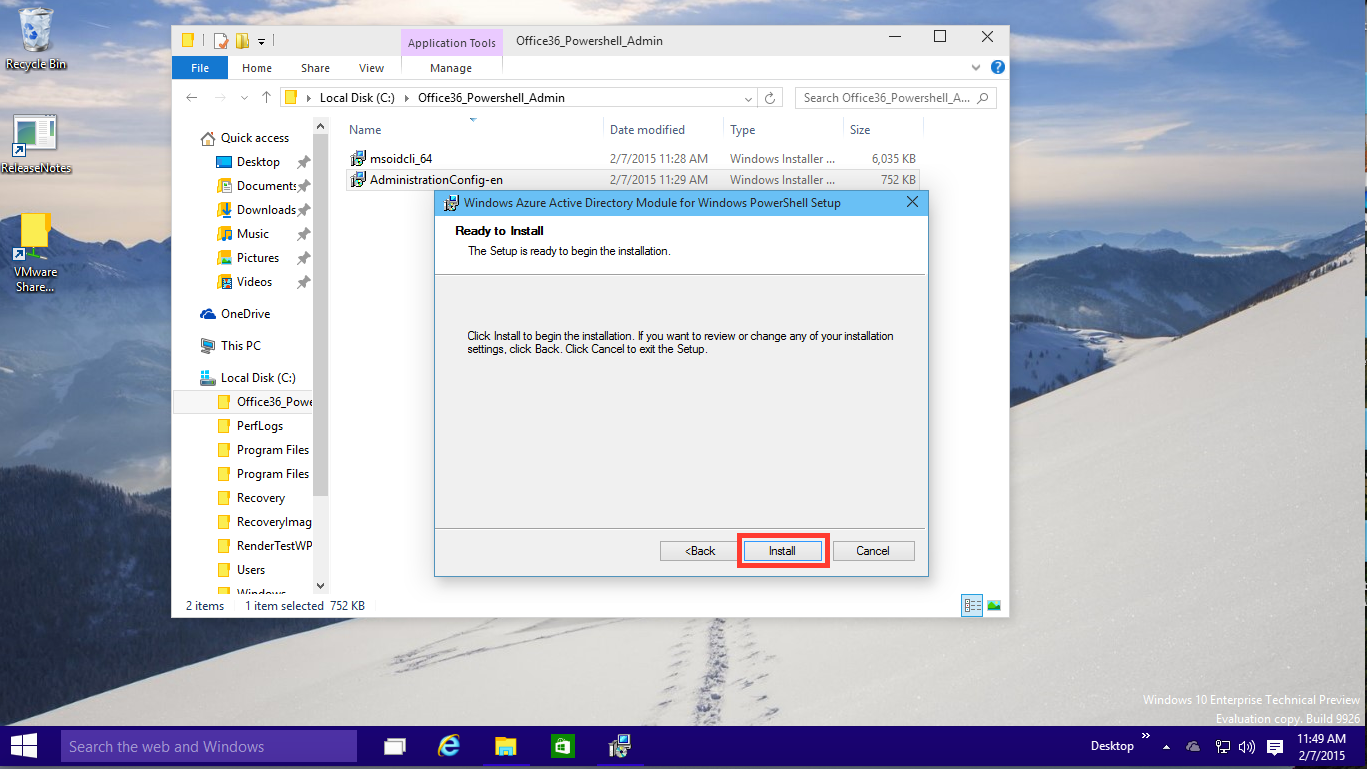
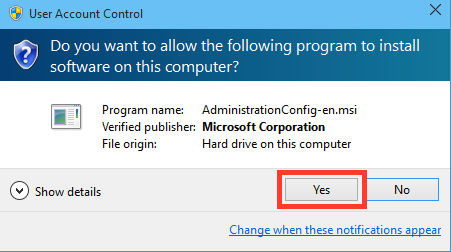
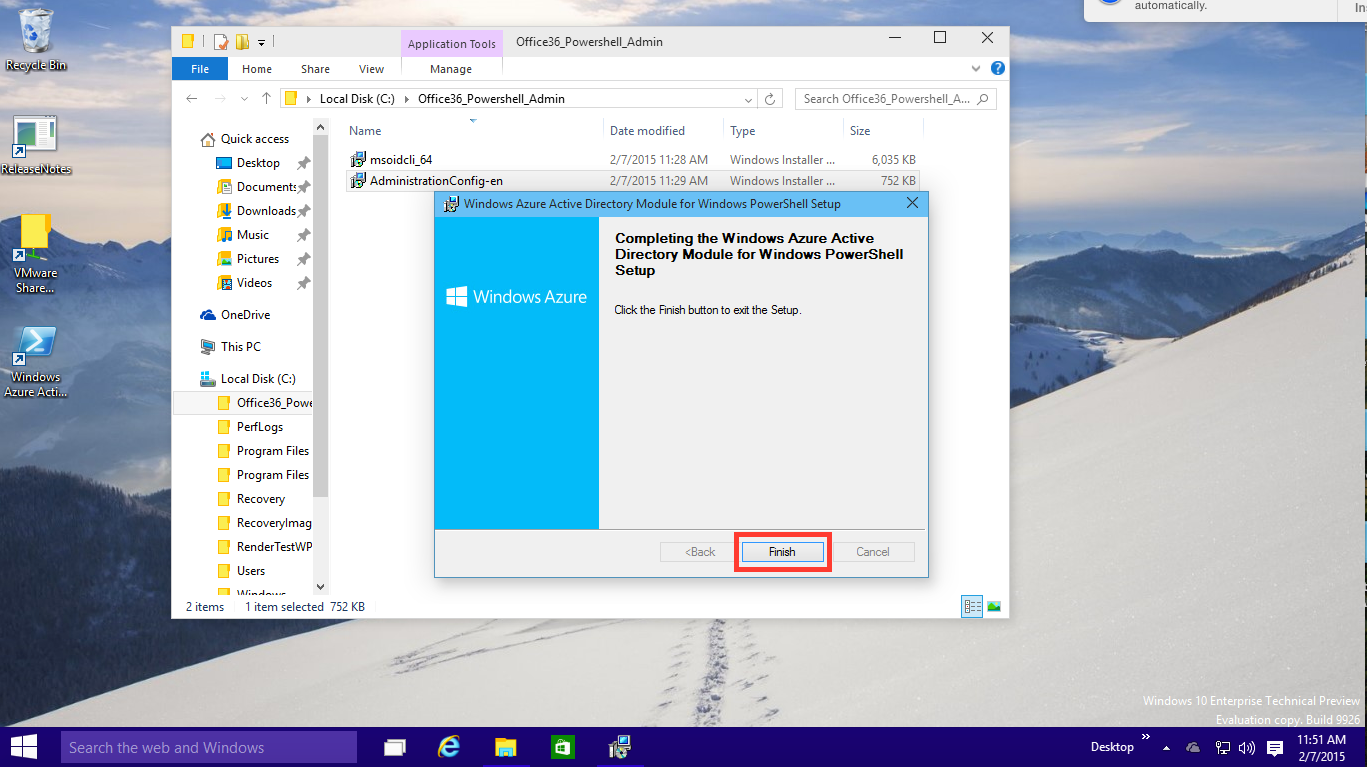
– Install the Microsoft Azure Active Directory Module for Powershell
Step 3:
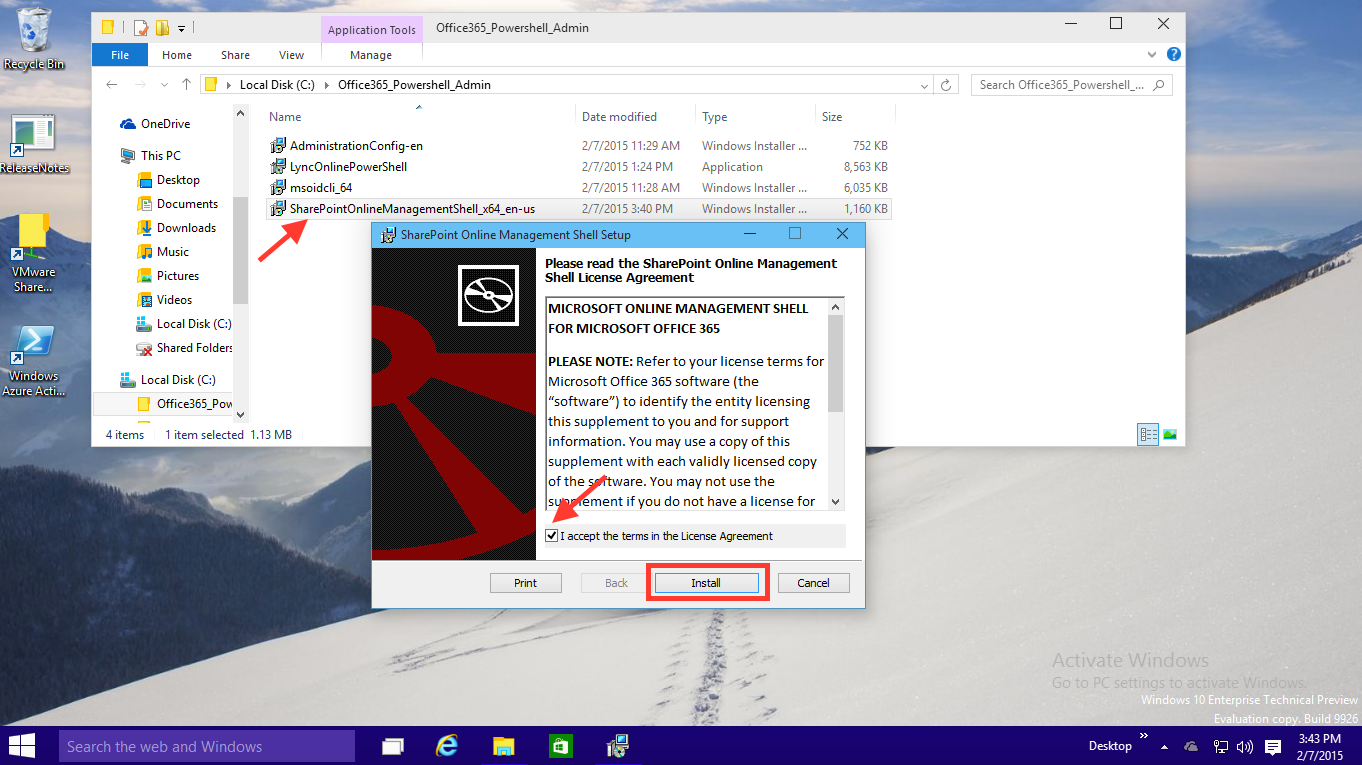
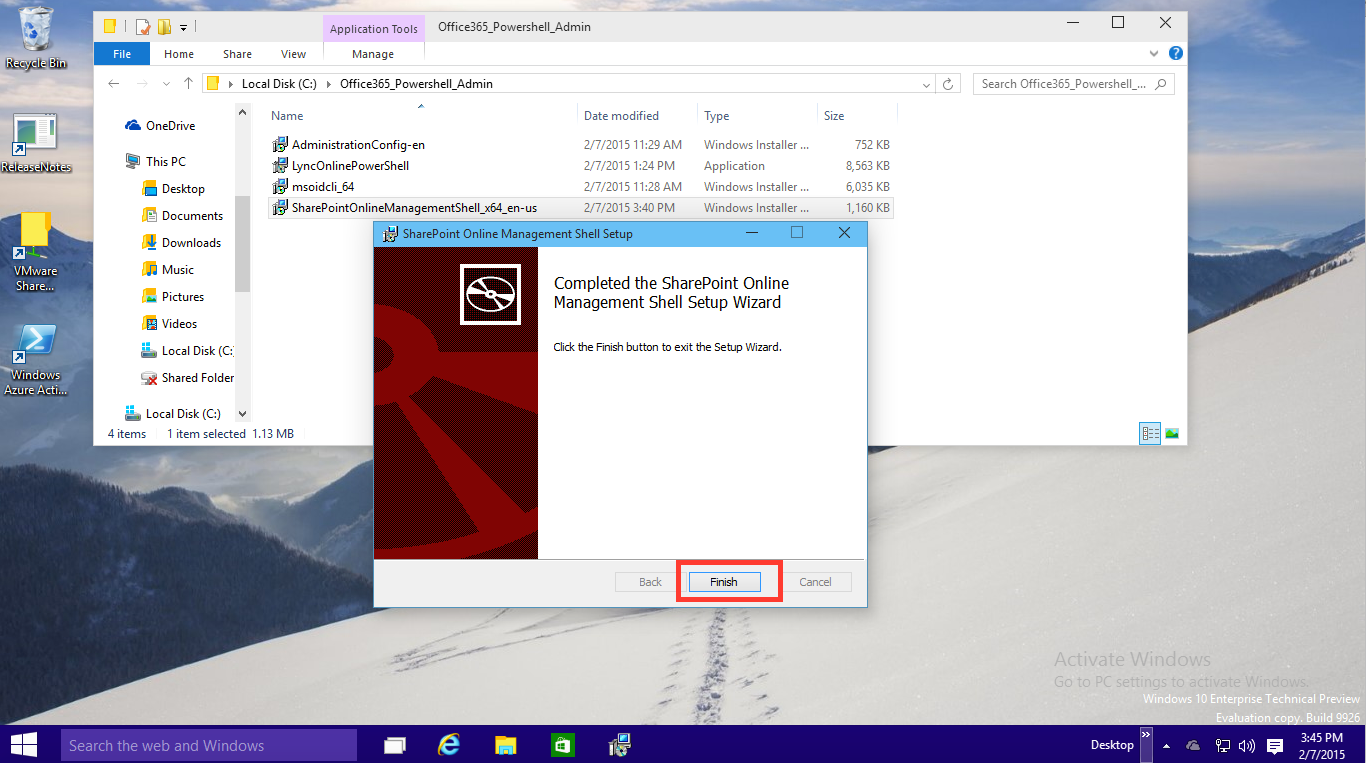
– Install the SharePoint Online Management Shell
Step 4:
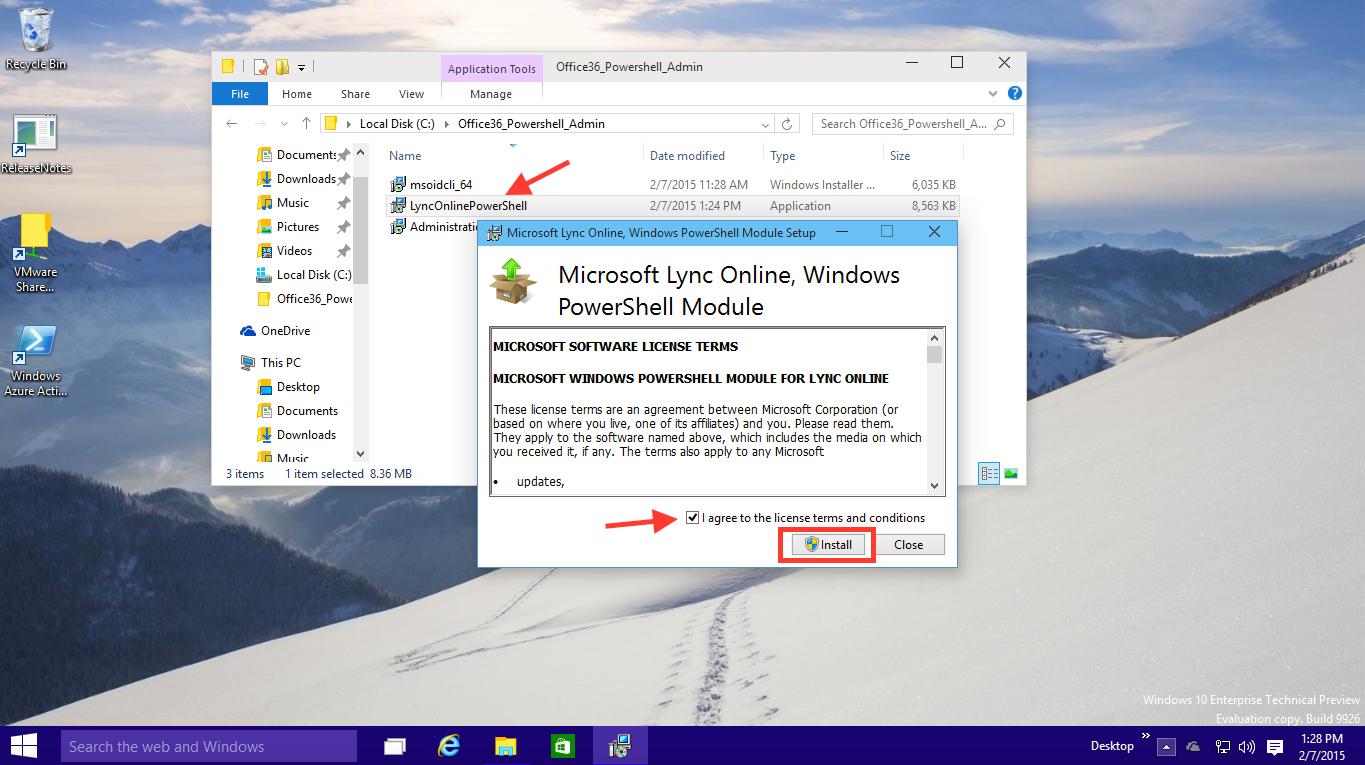
– Install the Windows PowerShell Module for Lync Online
Great! – Now that we have everything installed, let’s get to the fun part. We are going to use a PowerShell profile to configure our “super console” (if you will). You will find that it will make things easier down the road so that you don’t have to always remember what the cmdlet was and what the correct syntax is to connect to each of Office 365 online services. Thus, we are going to create and prepare a PowerShell profile to help. Let’s get to it….
PowerShell Profile Step 1:
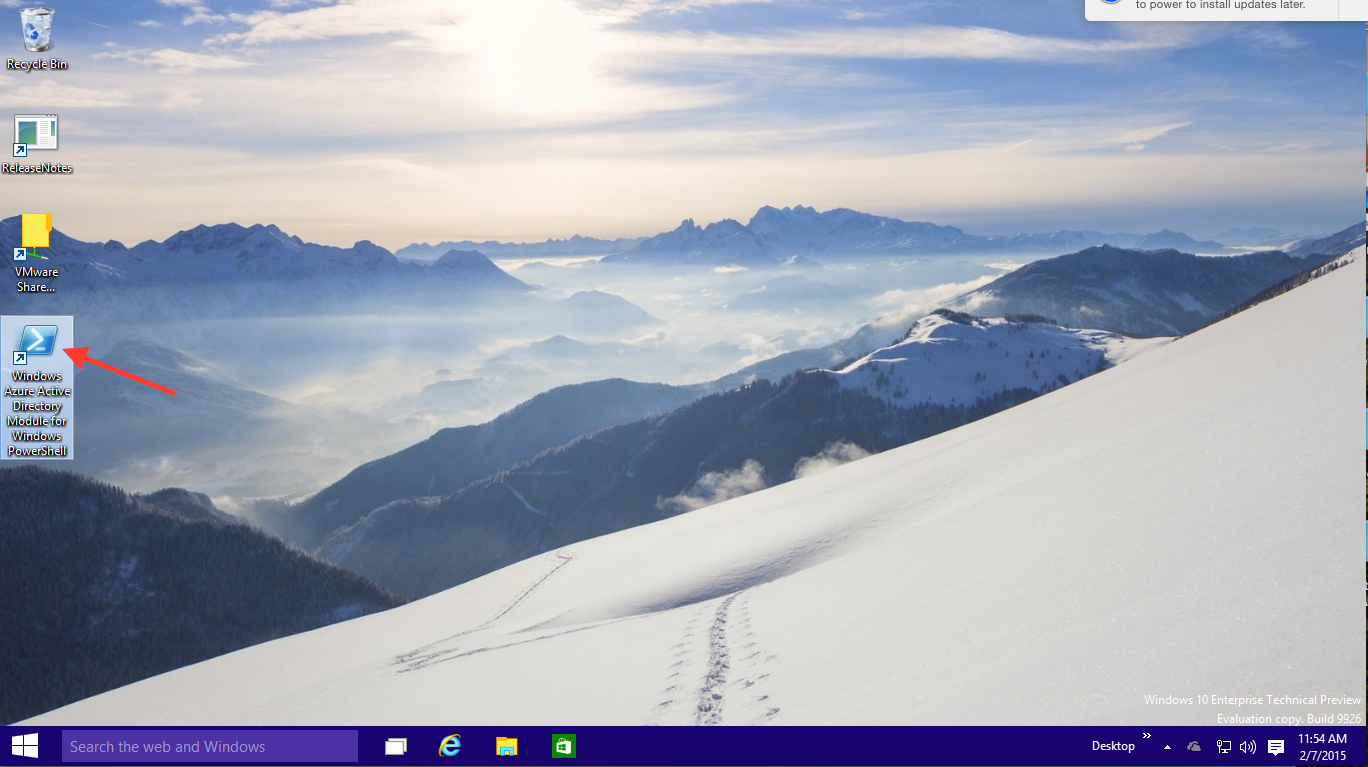
– Double-click on the icon on your desktop called ‘Windows Azure Active Directory Module for Windows PowerShell’
PowerShell Profile Step 2:
– Create the profile. In the command window, type in:
– This shows you that the profile (if it exists) would be located in C:\Users\vmfusionadmin\Documents\WindowsPowerShell\Microsoft.PowerShell_profile.ps1 — Let’s go ahead and test if that profile even exists. Thus in the command window type in:
– Notice in the screenshot below, when we test for the existence of the profile file; it doesn’t exist (hence the False value returned in the console window), so let’s go ahead and create the profile file. Afterward, you will notice in the output of the command the file being created.
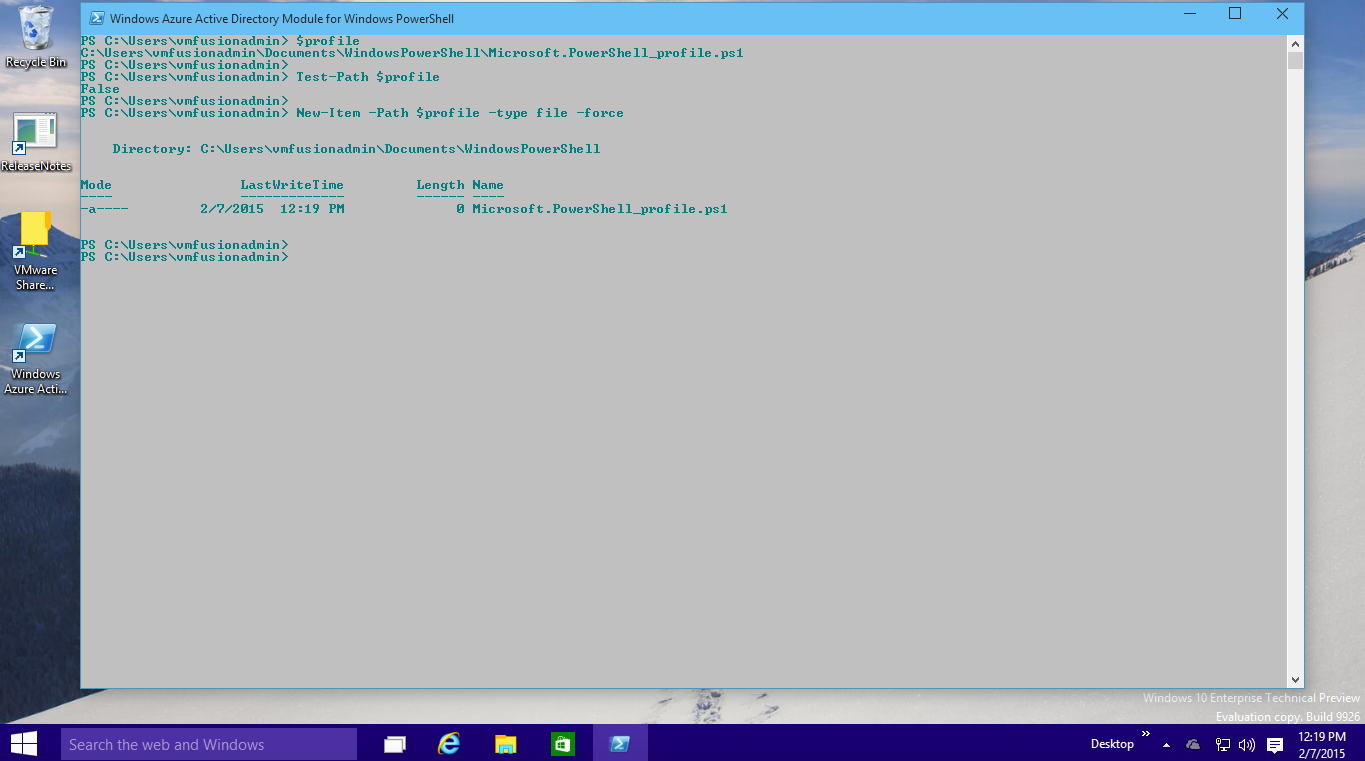
– Let’s go ahead and open our profile to start adding content to it
– This opens up your newly created PowerShell profile file in Notepad. We are going to add two functions into our profile:
- Connect-Office365
- Disconnect-Office365
– Add these two functions (copy and paste lines below) into your Notepad window for your PowerShell profile file:
– Be sure to substitute your actual Tenant Name in place of <yourtenantname> below for the SharePoint Online session
# -Purpose: Establish Connection to Office 365 Online Services for Powershell Admin
function Connect-Office365
{
# Establish Office 365 and Azure AD PowerShell Connectivity
$O365Cred = Get-Credential
Connect-MsolService -Credential $O365Cred
# Establish Connection for Exchange Online PowerShell
$O365Session = New-PSSession -ConfigurationName Microsoft.Exchange -ConnectionUri https://outlook.office365.com/powershell-liveid/ -Credential $O365Cred -Authentication Basic -AllowRedirection
Import-PSSession $O365Session
# Establish Connection to SharePoint Online PowerShell
Connect-SPOService -Url https://<yourtenantname>-admin.sharepoint.com -Credential $O365Cred
# Establish Connection to Lync Online PowerShell
$O365LyncSession = New-CsOnlineSession -Credential $O365Cred
Import-PSSession $O365LyncSession
}
# Function: Disconnect-Office365
# -Purpose: Disconnect all sessions to Exchange/Lync/SharePoint & Azure AD
function Disconnect-Office365
{
# Disconnect all connected Office 365 Sessions (Lync/Exchange/SP)
Get-PSSession | Remove-PSSession
Disconnect-SPOService
}
– Make sure you save the profile file, and then Exit the PowerShell console window.
PowerShell Profile Step 3:
– We have to ensure that our PowerShell Execution policy is set to RemoteSigned (otherwise our newly created profile won’t run/load when we start our PowerShell Console).
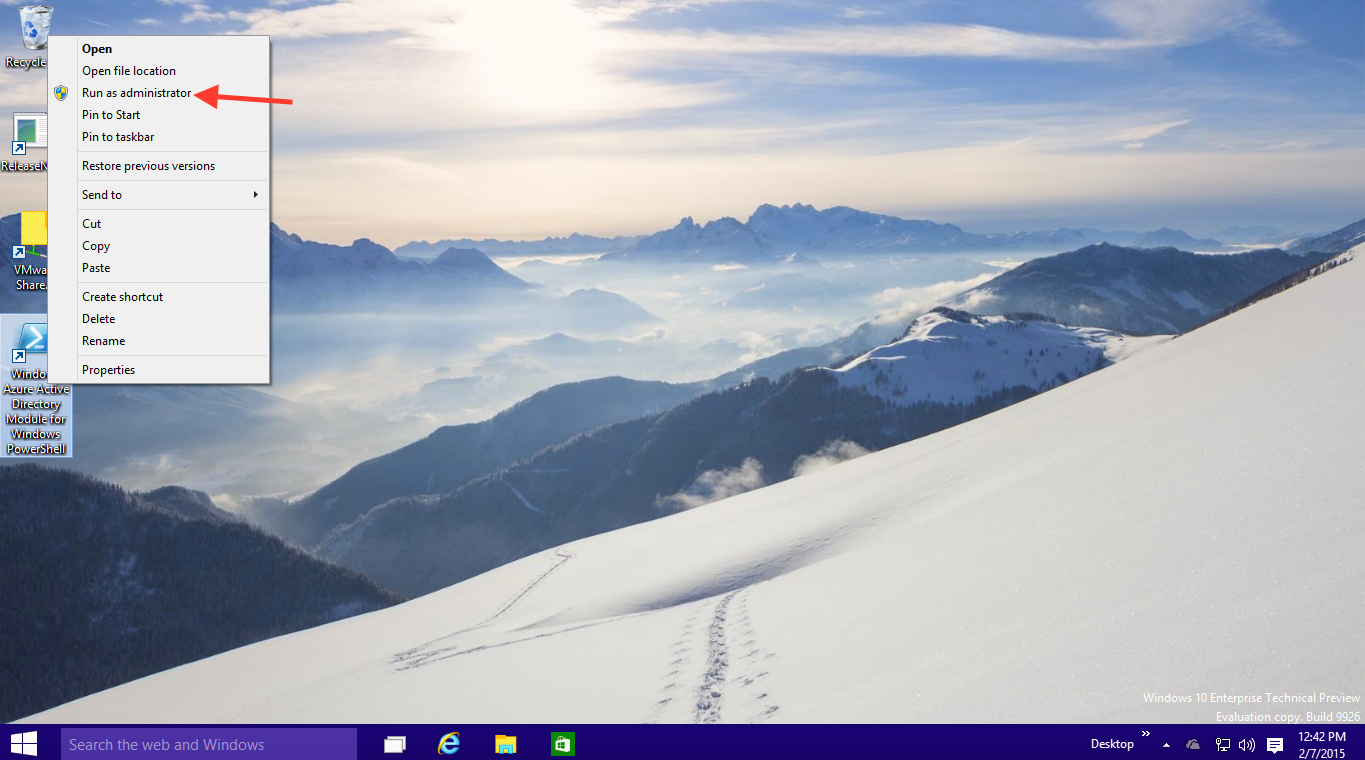
– This time, let’s open the ‘Windows Azure Active Directory Module for Windows PowerShell’ icon our desktop, but right-click and select to ‘Run as Administrator’
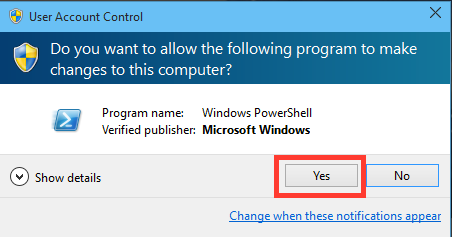
– Click ‘Yes’ to the next prompt.
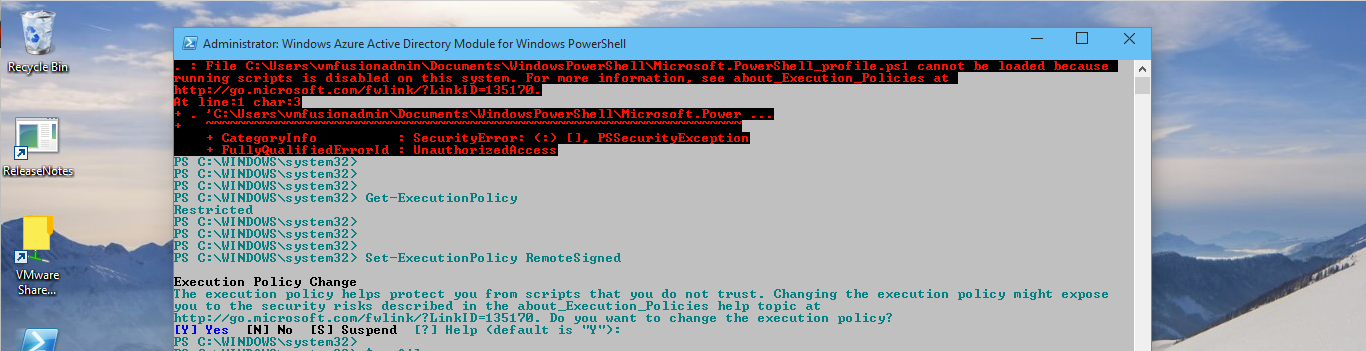
– When our PowerShell window opens, you will see an error stating that we can’t run the script that is part of our profile. Don’t worry! — we are going to fix that.
– In the PowerShell window, type in:
– You will see it return with a value of ‘Restricted’….this is ok.
– In the PowerShell window, type in:
– Simply just hit <Enter> when prompted, or if you prefer, type in ‘Y’ and hit <Enter>
– At this point, go ahead and exit out of the PowerShell console window…everything is all set up. You can then go back and open the ‘Windows Azure Active Directory Module for Windows PowerShell’ icon on your desktop as a normal user and your profile will load w/o issue.
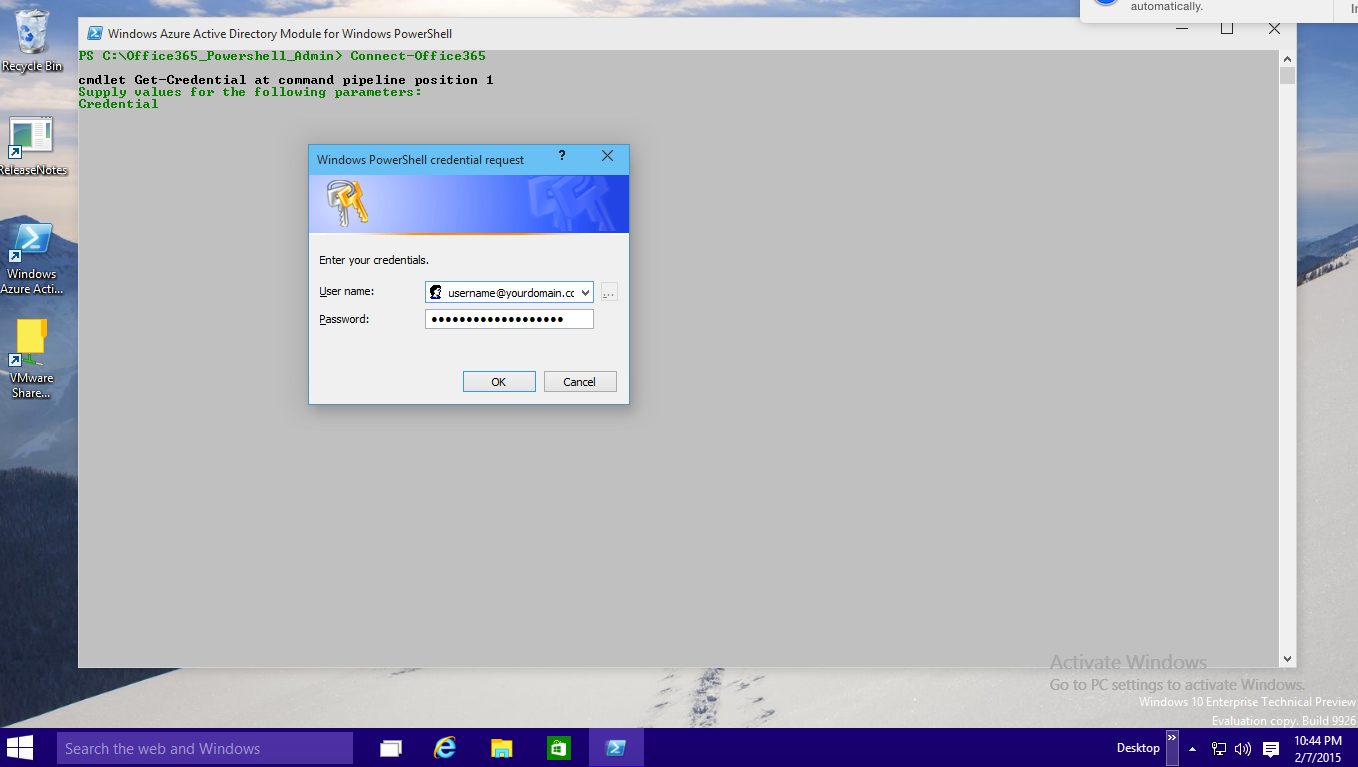
– Now, go ahead and connect to the Office 365 services by typing in your PowerShell window:
– This will display the login prompt. Go ahead and enter in your credentials to get started.
That’s it! – You now have one single PowerShell Admin Console to work with Exchange Online, SharePoint Online, Lync Online, and Azure Active Directory. No more opening up individual PowerShell consoles for each of the individual services.