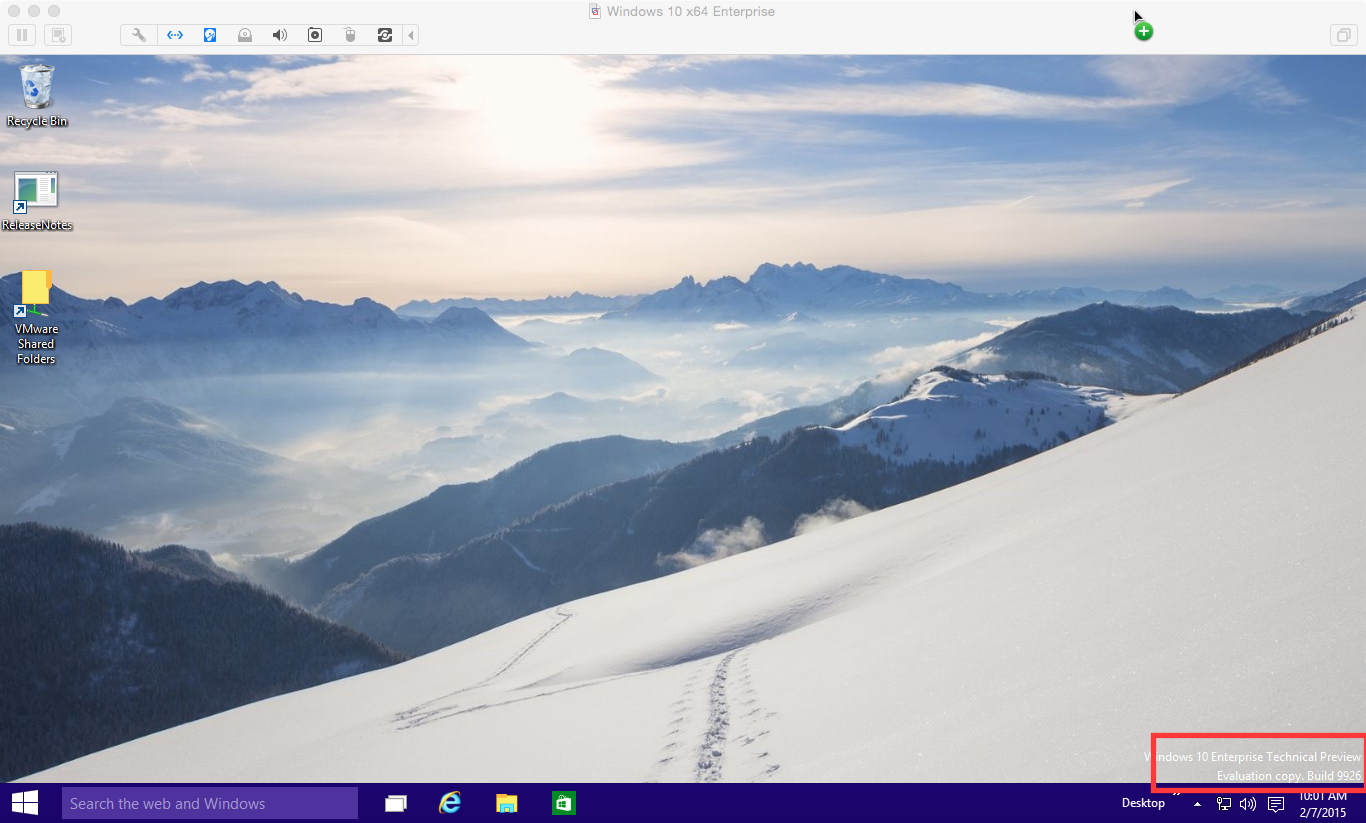
In my previous post I documented the installation of Windows 10 Enterprise Technical Preview Build 9879. This post is going to document the process I utilized to upgrade that Virtual Machine to the latest available Windows 10 Enterprise Technical Preview build of 9926. Let’s go ahead and get started !!!
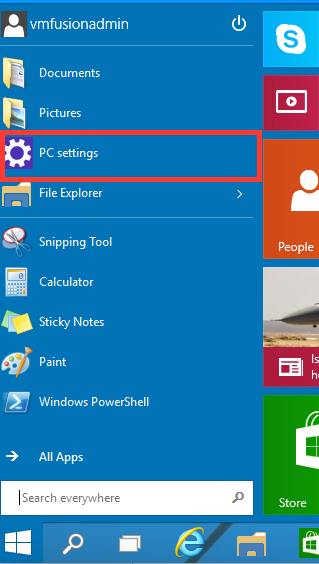
Let’s first click on the newly re-introduced Start Menu and click on ‘PC Settings’
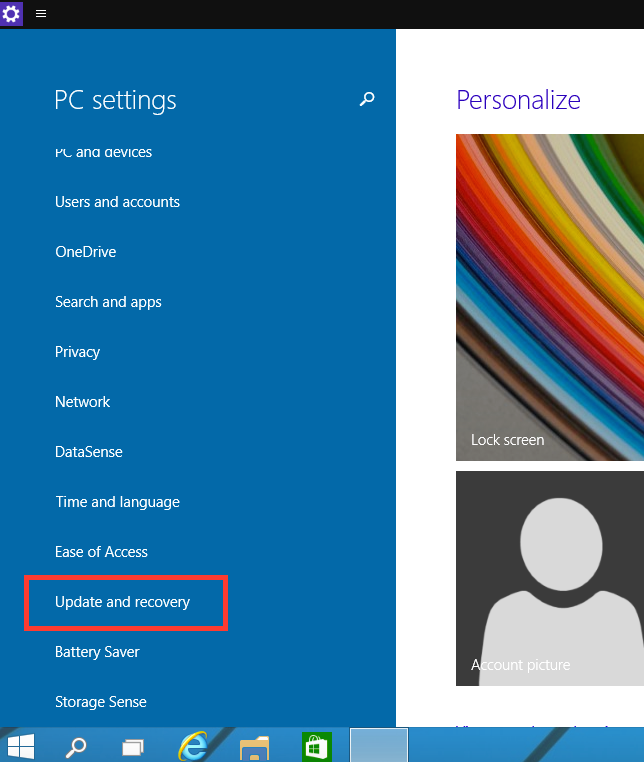
From here, let’s go ahead and click on ‘Update and Recovery’
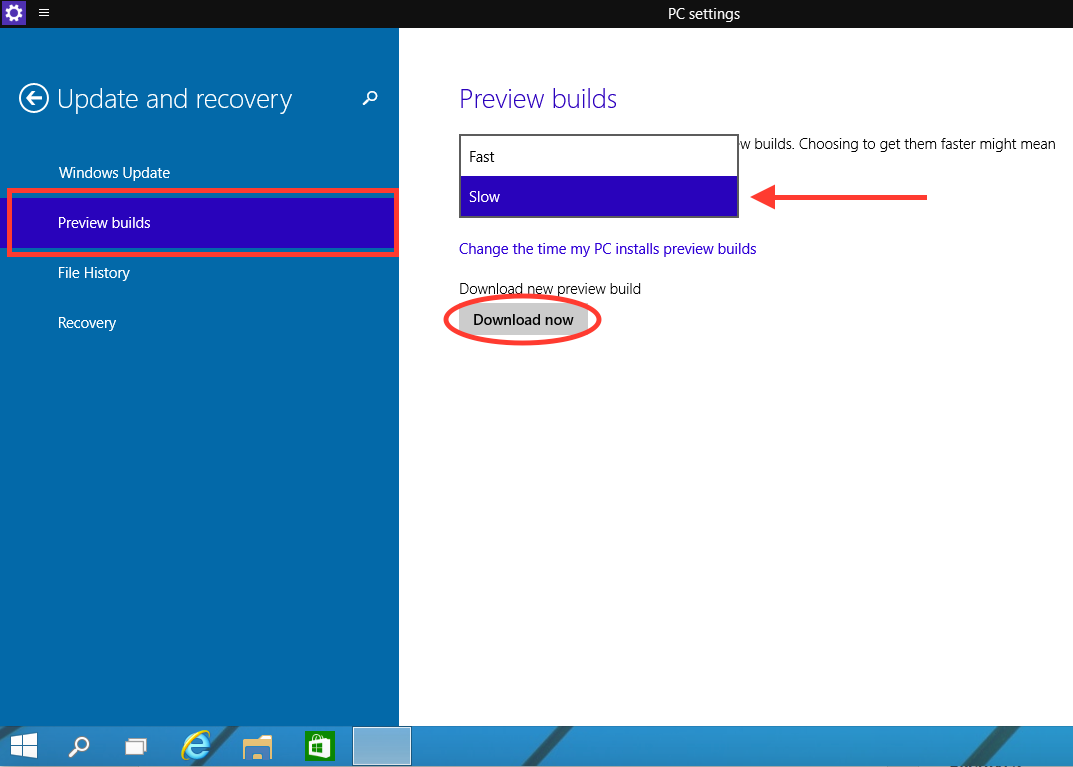
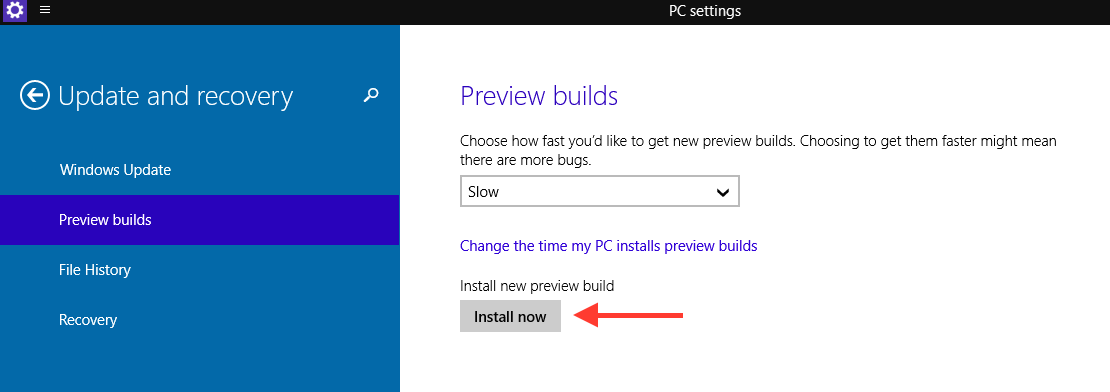
We are going to click on ‘Preview builds’ in the left hand side, and we are going to set our preference to ‘Slow’. Since build 9926 was already out and available, I get presented a ‘Download now’ button (otherwise, you may see a button to check for new builds first). Let’s go ahead and click on that ‘Download now’
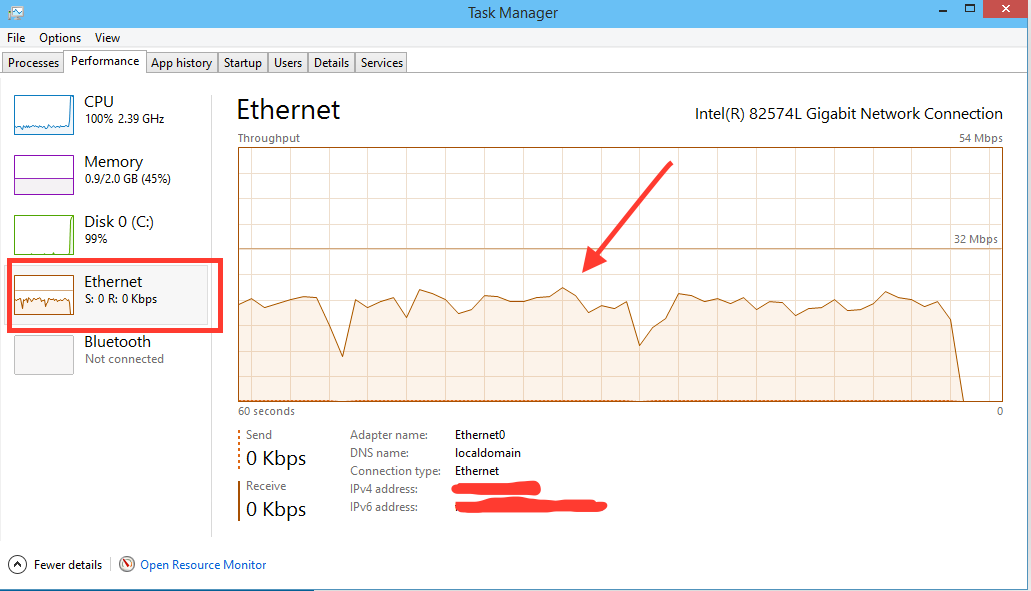
Keep in mind, that this is a 2-3GB download and will take some time depending upon your connection. It appears that unfortunately though, there is really no progress bar or status indicator to let you know how much further you have to wait. Thus, in my case I just opened up Task Manager and clicked into the Performance tab and then click on ‘Ethernet’ to see my network traffic. You can see that I’m getting a respectable 20+ Mbps on my download. I’m sure the download is working – as I wasn’t doing anything else to generate that traffic on my laptop! You can also see in the graph about when the download finishes, since traffic pretty much dips to nothing.
Alright, now that the download is finished, let’s go ahead and click on the ‘Install Now’ button.
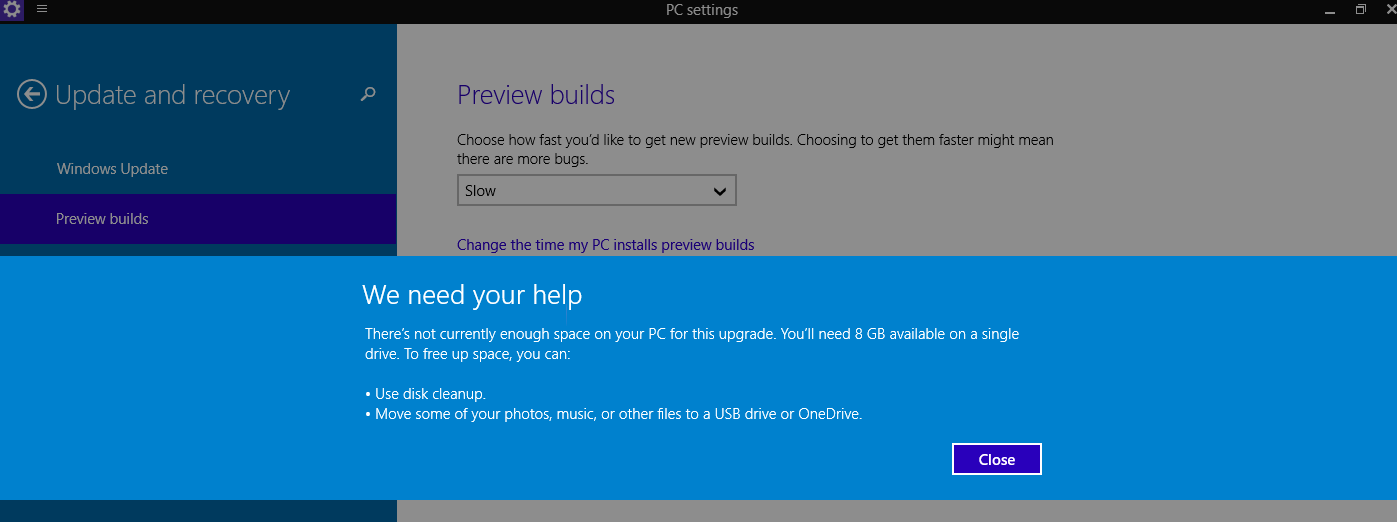
Unfortunately for me after some time, I’m presented with a not so fun error letting me know that my Virtual Machine doesn’t have enough space. Rats!
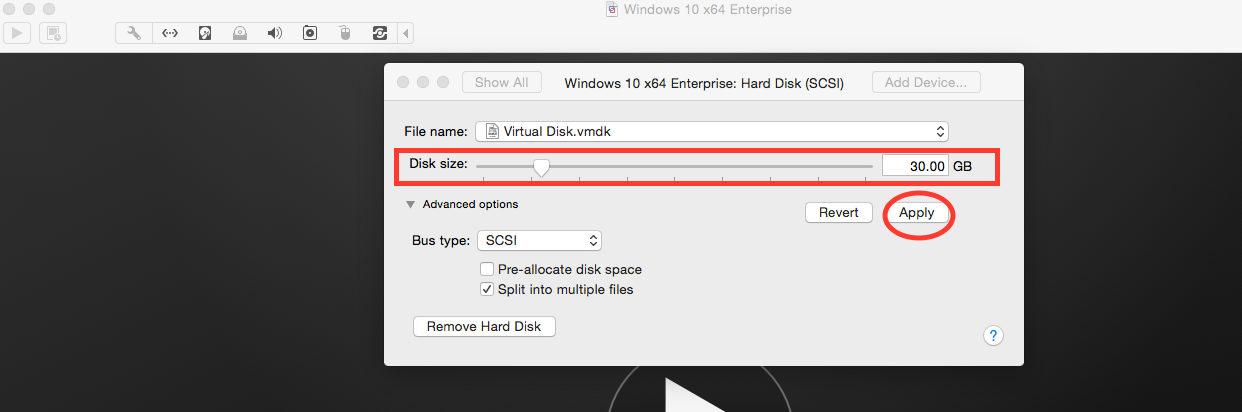
Well – to fix this, we have to shut down the Virtual Machine and expand the Hard Drive space. Recall that in our previous post on Installing Windows 10 Technical Preview using VMware Fusion on Mac OS X Yosemite that we only sized our virtual machine hard drive to have 20GB of space. Even though after our initial installation we had 9GB free of space initially; this particular Upgrade to build 9926 that we are doing now is going to require a few more GB of space to complete. Thus, let’s go ahead and expand the virtual machine Hard Drive size to 30GB and click on ‘Apply’. Let that operation finish.
OK – now that we’ve upgraded our virtual machine hard drive space to 30GB, lets go ahead and go back to the install (Star Menu > PC Settings > Update and Recovery > Preview builds > Install now )
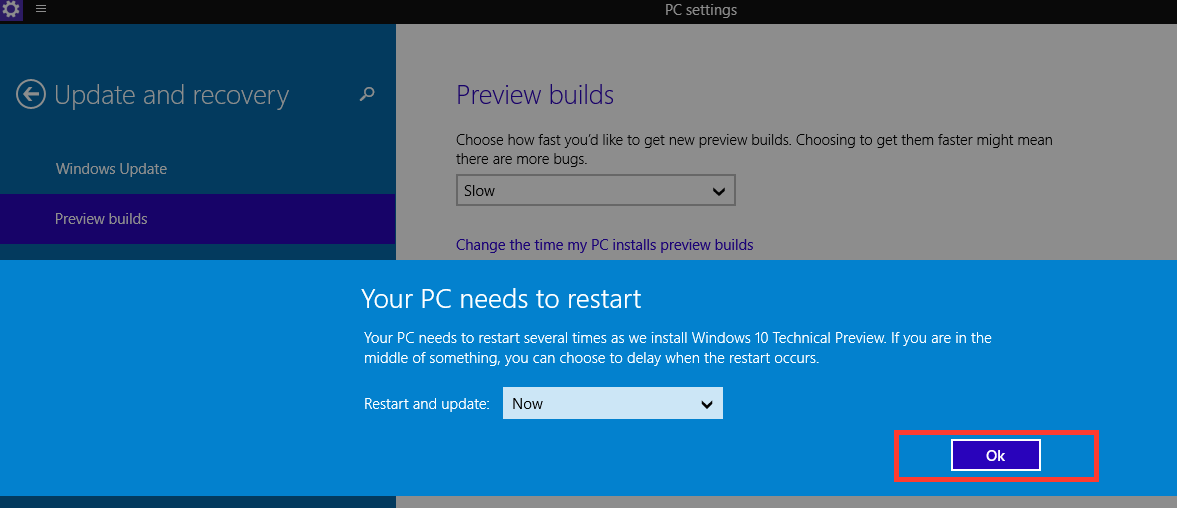
This time, we have success on the install and are asked to restart to finish things up. Go ahead and click on ‘OK’
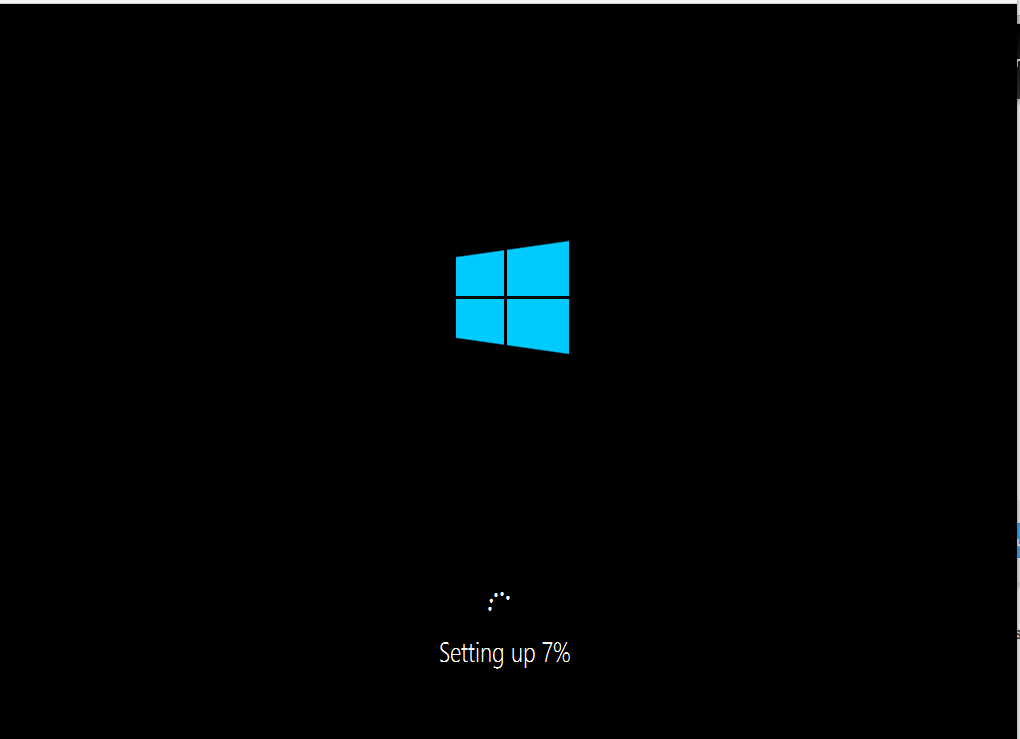
You’ll see a screen letting you know that things are Setting Up. This will go on / last for a bit of time. Be patient!
Once it finishes, you’ll get to the login screen of your Windows 10 Enterprise Technical Preview virtual machine. Log in and relish in the glory that is Build 9926. If all is well, you should see the build number reflected in the bottom right corner of the screen. Happy exploring!